
![Step-by-Step WordPress Installation Guide [2025]](https://upload.atakdomain.com/uploads/2026/5/step-by-step-wordpress-installation-guide-2025-911225.png)
Step-by-Step WordPress Installation Guide [2025]
Setting up a WordPress website is one of the most effective ways to establish a presence in the digital world and gain a strong position in your industry. Even if you do not have sufficient technical knowledge while creating your website, you can achieve a professional appearance by using the right methods. In this guide-style content, you can choose the infrastructure that suits your needs and learn important steps such as basic settings.
WordPress installation is among the critical stages you will encounter when preparing a website. Properly configuring the installation process will help you build a solid foundation in terms of speed, security, and SEO performance. By continuing to read this guide prepared by Atak Domain, you can complete the WordPress website setup process smoothly.
What is WordPress?
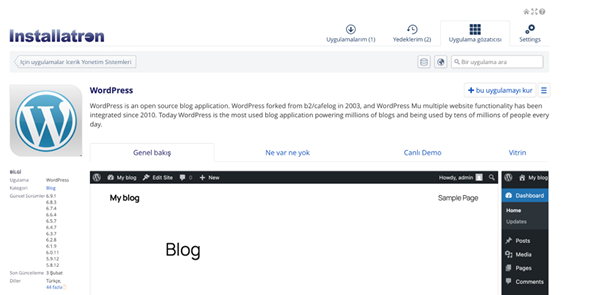
WordPress is an open-source content management system widely used by millions of websites worldwide. Developed in 2003, the WordPress platform allows users to create professional websites without requiring technical knowledge. Due to its flexible and extensible structure, it is commonly used for blogs, corporate websites, and e-commerce projects. It also stands out with advantages such as a user-friendly interface and practical content management processes.
The process of setting up a WordPress website can be completed quickly and easily. Especially since no coding knowledge is required, you can select themes, create new pages, and edit your content effortlessly. With thousands of free and premium themes available, you can shape your website’s design according to your needs.
WordPress installation generally consists of a few simple steps. Today, many hosting providers offer one-click installation support. After completing the installation process, you can strengthen your website’s speed, security, and SEO by using plugins. This allows you to create a fully customized website.
How to Install WordPress?
The answer to the question of how to install WordPress may vary depending on the preferred installation method. The most common method is automatic installation through the hosting control panel (cPanel or Plesk). First, you need to log in to your hosting account and find the “Softaculous” or “WordPress Manager” section. By clicking the “Install” button, you should select your domain name. Then you need to enter information such as the domain name, website title, administrator username, and password. After starting the installation, your website will be ready within a short time.
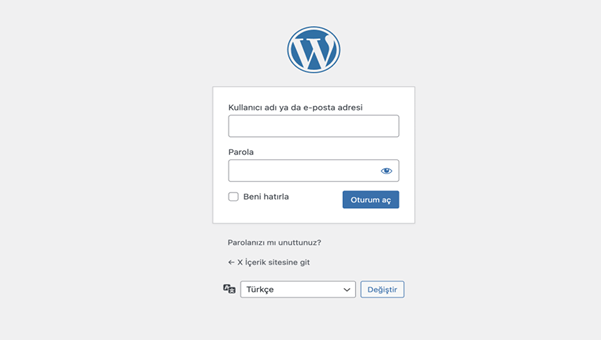
For manual WordPress installation, WordPress should first be downloaded from the official website. After downloading, you should upload the files to your server via FTP. Then you can create a MySQL database from your hosting panel and enter the database details on the installation screen. Once the installation is completed, you can access the admin panel via the “/wp-admin” extension.
How to Install WordPress via cPanel?
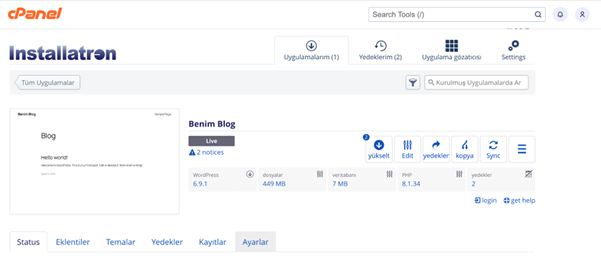
cPanel WordPress installation is generally a practical method for users with limited technical knowledge. The first step is to log in to your hosting account. After accessing the cPanel control panel, you should open the installation screen from the “WordPress Manager” section. Here you can select your domain name and start the installation process by entering details such as site name, admin username, and password. You can complete all these steps easily within just a few minutes.
One of the easiest answers to the question of how to install WordPress is this automatic installation method via cPanel. After completing the installation, you can go to the admin panel and configure the general settings. Making the basic settings at the initial stage is important to strengthen performance and security.
One of the important aspects of the WordPress website setup process is choosing the right theme carefully. Themes and plugins are among the elements that directly affect the success of your website. They help improve your site’s SEO, security, and speed.
Xampp WordPress Installation - LocalHost Guide
Xampp WordPress installation is preferred by users who want to create a local server environment on their computer without requiring an internet connection. It is generally used during development processes to test websites before publishing them online. Besides being a great advantage, the required steps are quite simple. First, you need to download and install the Xampp program on your computer. Then you can activate the Apache and MySQL services. This ensures that the local server runs properly.
In the second stage of the installation, you can create a new database using phpMyAdmin. Then download the official WordPress files and move them into the “htdocs” directory. When you search for “localhost/sitename” in your browser, the installation screen will appear. From there, you can enter the database information and complete the process.
With Xampp WordPress installation, you can test themes, experiment with plugins, and make design changes. Having a secure environment will help you achieve more successful results in your WordPress projects. It also offers advantages for those who want to strengthen their brand and stand out in the digital world.
Common Mistakes When Creating a WordPress Website
Mistakes made during the WordPress website setup process directly affect both site performance and user experience. The most common mistakes include the following:
-
Entering database information incorrectly: If the database name, username, or password in the “wp-config.php” file is incorrect, an error may occur. In this case, the “Error Establishing a Database Connection” error appears.
-
Low max file upload size: When installing themes or plugins in WordPress, users often encounter file size limits. If the “upload_max_filesize”, “post_max_size”, and “memory_limit” values are insufficient, upload errors may occur.
-
Using outdated PHP versions: When PHP is not updated, security vulnerabilities may occur. At the same time, using an outdated PHP version negatively affects website performance. To avoid such problems, using PHP 8.x versions for WordPress is recommended.
-
Incorrect file permissions: Using wide file permissions can create security risks. Therefore, it is recommended to use 644 for files and 755 for folders.
-
Not installing SSL: Launching websites without SSL installation is disadvantageous in terms of both SEO and security.
-
Not configuring permalinks: When choosing the URL structure, SEO-friendly links should be preferred. Otherwise, content URLs may appear confusing.
WordPress Theme Installation
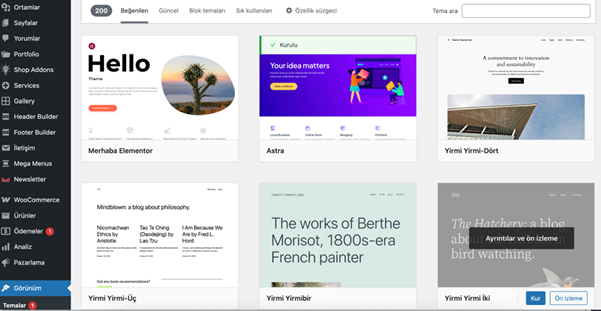
WordPress theme installation plays a key role in determining your website’s design and especially the user experience. After logging into the admin panel, you should click on the “Themes” section under the “Appearance” tab. From here, you can browse and add new themes. Generally, themes available in the WordPress theme directory are free. You can choose from free themes and complete the installation process. After installation, click the “Activate” option to enable your theme.
After activating the theme, you can go to the “Customize” panel to change details such as the logo, fonts, colors, and layout. Choosing the theme carefully, ensuring mobile compatibility, and considering SEO performance are very important.
WordPress Plugin Installation
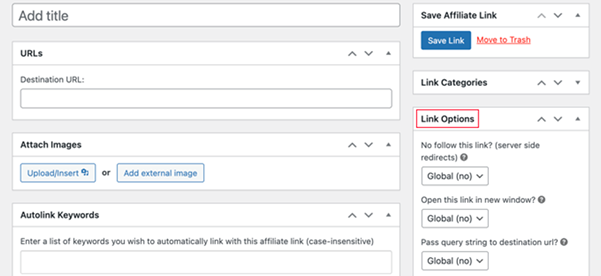
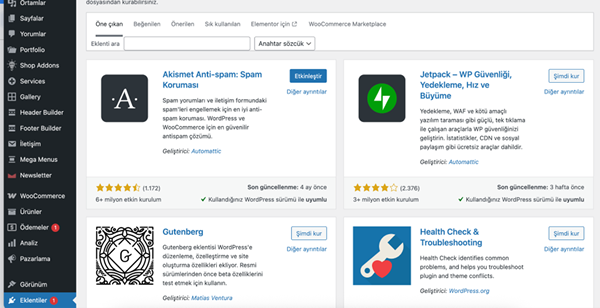
WordPress plugin installation is one of the important steps to increase the functionality of your website. After logging into the admin panel, click on the “Plugins” section from the left menu. On the page that opens with the “Add New” option, you can search for plugins that match your needs and expectations. For the plugin you want, click the “Install Now” button to complete the installation.
After adding plugins for your WordPress website setup, you need to activate them. By clicking the “Activate” button, the plugins become ready to use. Some plugins may require additional configuration after installation. For such cases, you can review the setup and configuration section. You can also upload premium plugins via the “Upload Plugin” option. However, you should avoid installing too many plugins in order to maintain website performance and speed.
Categories
- Domain Guide & Registration Process
- Email Services & Setup Instructions
- Step-by-Step How-To Guides
- Insights & Articles from the Tech World
- Server Management & Performance Tips
- Software Development & Coding Resources
- SSL Certificate Guide for Secure Websites
- Choosing the Best Hosting & Optimization Tips
- Key IT Terms & Their Definitions
- SQL Database Management & Queries
- WordPress Setup & Optimization Strategies
Random Articles
What is the top level domain?
20.09.2024
The Ultimate Guide to Fixing and Troubleshooting the Most Common WordPress Errors (70+ Issues)
24.01.2022
Recommended WordPress Multisite Plugins (Network Management, Migrations, and Backups)
18.01.2022
16 Best WordPress Photo Gallery Plugins (Compared With Examples)
19.01.2022
Find the Ideal WordPress Calendar Plugin for Your Website
27.06.2022